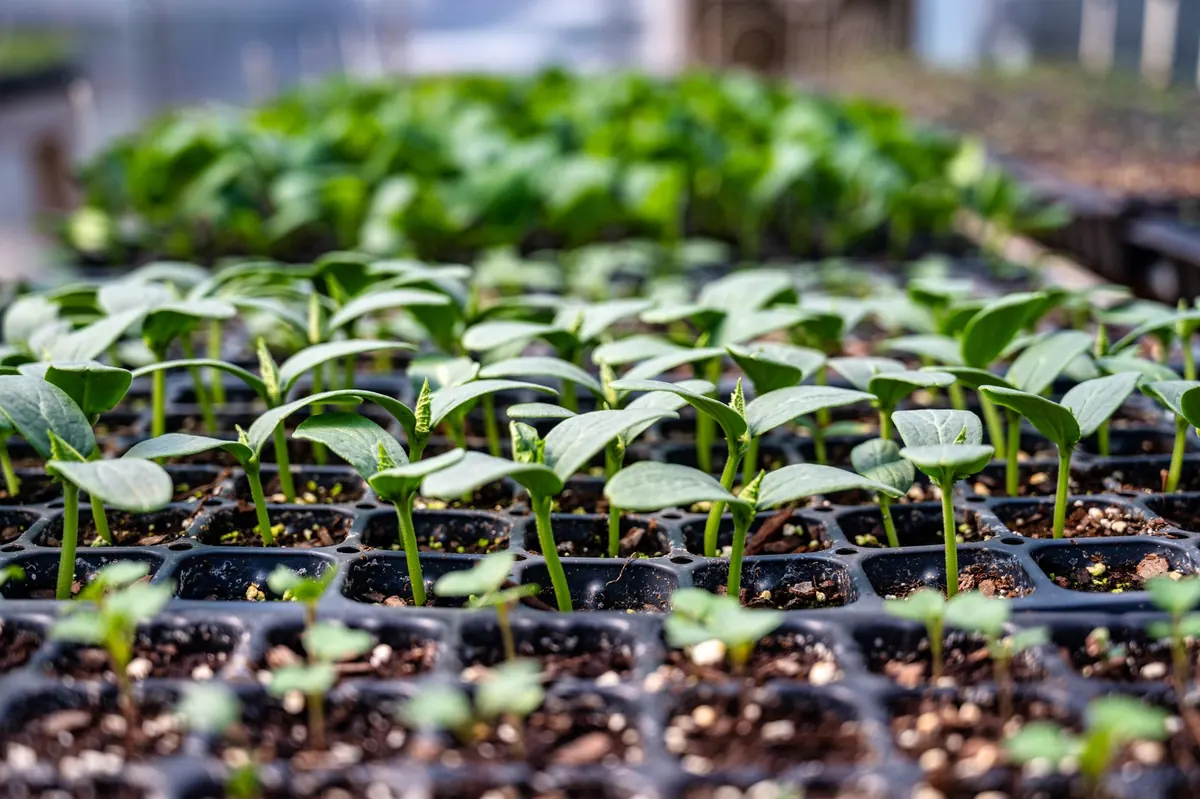
Starting seeds indoors should be simple: put seeds in soil, add water, wait. Then February arrives, your windowsill fills with pale, spindly stems, and by May you're buying tomato plants at the nursery again. The difference between those two outcomes isn't luck or a greenhouse. It's timing, light, and a few small habits that are easy to learn the first time around.
Work Backward From Your Last Frost Date
Everything starts with one number: your average last frost date. Look it up through your local extension service, a nearby garden center, or ask a neighbor who has gardened in the area for years. Once you have it, count backward.
Seed packets usually tell you how many weeks before last frost to start indoors. As a general guide, tomatoes, peppers, and eggplants want six to ten weeks; brassicas, lettuce, and most herbs want four to six. Write the actual sowing date on the packet and put it on a calendar rather than trusting memory.
Starting too early is the most common beginner mistake. A tomato sown in January in a dim living room becomes root-bound and weak long before the soil outside is warm enough, and no amount of care fully fixes that. If you want a longer harvest, stagger sowings two weeks apart instead of starting everything earlier. In warm climates without a real frost date, count back from the week you intend to transplant.
The Gear That Actually Matters
You do not need a greenhouse, a heat mat, or an elaborate shelving system. You need a few basics, and they can be inexpensive.
- Seed-starting mix. Light, fine, and fast-draining. Garden soil compacts in small cells and can carry the organisms that cause damping-off.
- Containers with drainage. Cell trays, reused yogurt cups with holes punched in the bottom, or soil blocks. Two to three inches deep is plenty for most seedlings.
- A clear dome or plastic wrap to hold humidity during germination, plus a bottom tray for watering.
- Labels and a permanent marker. Every seedling looks identical in week two.
- A light you can raise. A basic shop light or LED grow light hung on chains works better than any windowsill.
- A timer, a small fan, and a spray bottle.
- Optional: a heat mat, which genuinely helps peppers and tomatoes germinate faster.
Sowing, Step by Step
- Moisten the mix in a bucket first. It should hold together when squeezed but not drip.
- Fill your cells, firm the surface gently with your fingers, and don't pack it down hard.
- Sow at roughly two to three times the seed's diameter. Tiny seeds like lettuce, basil, and snapdragons should be pressed onto the surface and barely covered, since some need light to germinate.
- Label each row or cell as you go, not afterward.
- Water from the bottom by setting the tray in shallow water until the surface darkens.
- Cover with a dome and keep the tray somewhere warm, roughly 65 to 75°F, out of direct sun until sprouts appear.
- Remove the dome the moment green shows. Leaving it on invites rot and leggy growth.
Germination ranges from three days for radishes to three weeks for parsley, so don't panic and don't overwater while you wait.
Light Makes or Breaks Seedlings
A windowsill is usually not enough, even a bright one. Winter light is weak and brief, and seedlings respond to shortage by stretching toward it. That stretching is legginess: long, pale stems, small leaves, and a plant that flops the moment it meets wind.
Give seedlings 14 to 16 hours of light a day with the bulb two to four inches above the tops of the plants, and raise the light as they grow. A cheap timer keeps the schedule consistent, and the dark hours matter too. If your seedlings are already leggy, fix the light first; when you pot tomatoes and peppers deeper, you can bury the stem up to the lowest leaves and it will root along the buried section.
Watering, Airflow, and Potting Up
Water from the bottom and let the surface dry slightly between waterings. Constantly soggy mix is the main cause of damping-off, a fungal collapse where healthy-looking seedlings suddenly topple at the soil line. A small fan set on low, running for a few hours a day, moves air across the leaves and grows sturdier stems.
When the first true leaves appear — the second set, after the rounded seed leaves — thin the cell to one strong seedling or move each into its own pot. Pot up again when roots appear at the drainage holes or when leaves start overlapping their neighbors. Begin feeding only after true leaves appear, and only if your mix contains no nutrients: half-strength liquid fertilizer every two weeks is usually plenty.
Hardening Off Without Shock
This is the week that saves your seedlings, and skipping it can undo months of work. Over seven to ten days, introduce the outdoors gradually. On day one, set plants in a sheltered, shaded spot for an hour or two. Add an hour or two each day, working toward morning sun by midweek and full sun by the end. Bring them in at night at first, especially if temperatures dip.
Water a little less and skip fertilizer during this stretch. Direct sun and wind are what scorch tender leaves, so a spot under a tree or inside a shaded cold frame is ideal if you're at work all day. Slight midday wilting on the first day is normal; if plants don't perk up by evening, step back to more shade.
A Simple Routine for the First Season
Start small. One tray of tomatoes, one of peppers, and a few basil cells is enough to learn on without turning your kitchen into a nursery. Check moisture in the morning, adjust the light height every couple of days, and keep a short note on what you sowed and when it came up. Expect a few losses to damping-off or a forgotten watering; that's part of it, not a sign you're doing it wrong.
By the time you've done this once, the calendar writes itself. You'll know your frost date, your light setup will already be hanging, and next spring's seedlings will be sturdier than this year's. That's the whole trick: not perfection, just a healthy plant ready for the ground.
Photo: Alfo Medeiros / Pexels