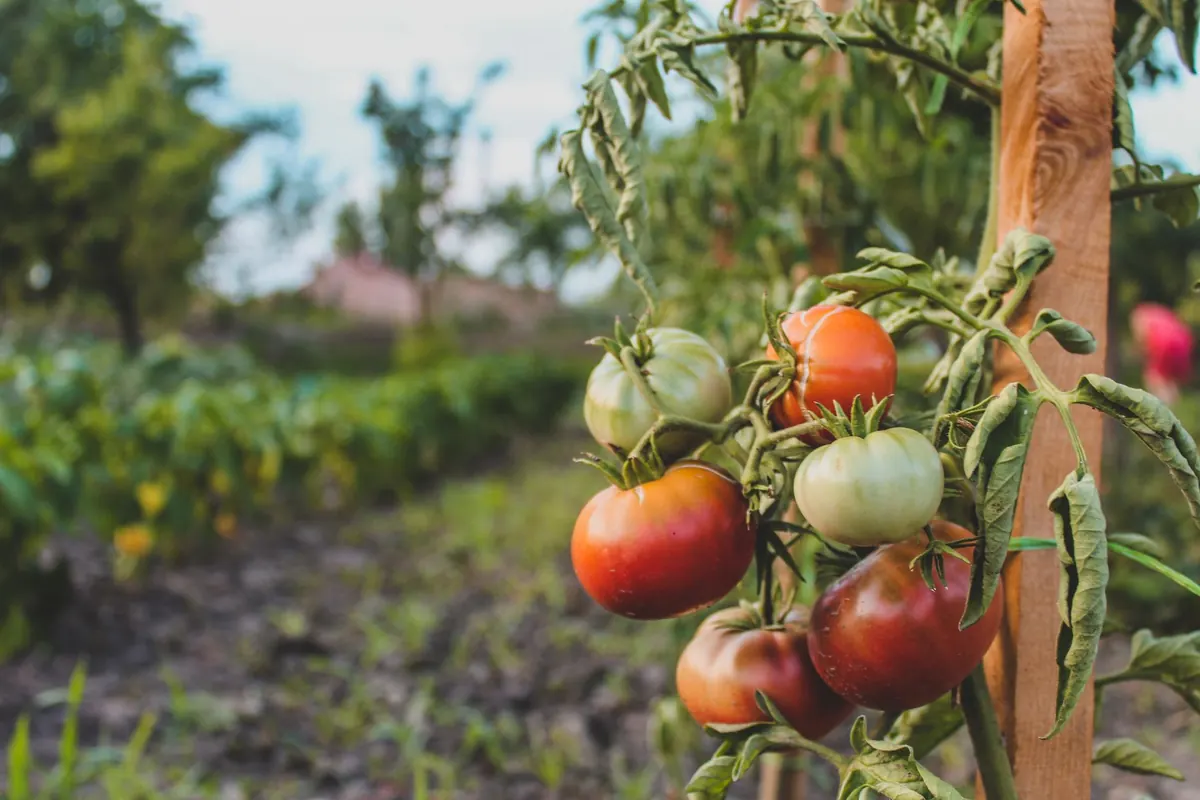
A tomato plant tells you what is wrong before it gives up, and it uses color instead of words. Yellow leaves are the most common complaint I hear from gardeners, and the good news is that the pattern of yellowing usually narrows the cause down to one or two suspects. One pale leaf at the bottom of the plant is a very different problem from new growth turning yellow at the top. Read the clues first, then act.
Read the Pattern Before You Reach for Anything
Before you water, feed, or spray, look at two things: which leaves are yellowing, and how the yellow sits on the leaf.
- Old leaves at the bottom: the plant is moving mobile nutrients (nitrogen, magnesium, potassium) upward to feed new growth.
- New leaves at the top: immobile nutrients (iron, calcium) are not reaching the tips, or the roots are damaged.
- Yellow between green veins: usually magnesium on older leaves, iron on newer ones.
- Uniformly pale, whole leaf: nitrogen shortage or chronically wet roots.
- Yellow with brown spots, rings, or sudden wilting: disease.
- Fine speckling and sticky undersides: pests.
Then pinch a leaf. Crisp edges point to dry soil or salt buildup from fertilizer. Soft, limp tissue points to too much water. This check takes thirty seconds and saves weeks of guessing.
1. Overwatering and Soggy Roots
This is the cause I see most often, especially in containers. Roots need air. When soil stays saturated, they suffocate and stop taking up nutrients, and the lowest leaves yellow first. The plant may look limp even though the soil is soaking wet. Common triggers: watering on a fixed schedule instead of by feel, pots without drainage holes, saucers left full, and heavy clay beds.
Fix: push a finger two inches into the soil and water only when it feels dry at that depth. Empty saucers, drill drainage holes if needed, and let the top layer dry between waterings. A slight afternoon wilt on a hot day is normal; do not panic-water. If the bed is boggy, work in compost and consider raised rows.
2. Underwatering and Heat Stress
Drought looks different. Lower leaves yellow and turn crisp at the edges, and the plant is already wilting in the morning rather than the afternoon. Blossom drop often follows.
Fix: water deeply and less often, soaking the root zone so roots grow downward instead of hugging the surface. Add two to three inches of mulch to slow evaporation. In a heatwave, container tomatoes may genuinely need water once or twice a day.
3. Nitrogen Deficiency
Nitrogen moves freely through the plant, so a shortage shows up on the oldest leaves first. They turn a uniform pale yellow, sometimes the whole leaf, while the top stays green. The plant as a whole looks smaller, thinner-stemmed, and lighter in color.
Fix: side-dress with compost or a balanced organic fertilizer, or water with fish emulsion. Do not overcorrect. Too much nitrogen gives you a towering leafy plant with almost no fruit.
4. Magnesium Deficiency
Here the yellow sits between the veins while the veins stay green, again on older leaves, and it creeps upward over time. Sandy soil, containers, and heavy potassium feeding all make it more likely.
Fix: a common home remedy is one tablespoon of Epsom salts per gallon of water, applied as a soil drench, used occasionally rather than routinely. For a longer-term answer, add compost and, in fall, dolomitic lime if your soil test calls for it.
5. Iron Deficiency and Soil pH
Iron shortage shows at the opposite end of the plant: new growth at the top yellows between green veins. Iron is present in most soil but becomes unavailable when pH is too high, or when roots are cold, waterlogged, or sitting in heavily limed soil.
Fix: tomatoes prefer a pH around 6.0 to 6.8. Test before amending. Compost helps buffer pH over time; elemental sulfur lowers it gradually. A chelated iron drench can green up the plant within a couple of weeks while the soil slowly improves.
6. Pests Feeding on Leaf Undersides
Spider mites, whiteflies, and aphids all suck sap and leave yellow behind. Mite damage looks like fine pale stippling, as if the leaf were dusted with sand, followed by yellowing, drying, and faint webbing. Aphids and whiteflies leave sticky residue and cluster on new growth.
Fix: turn leaves over and tap a stem above a sheet of white paper; tiny moving specks confirm mites. Knock pests off with a strong spray of water, then treat with insecticidal soap or neem, repeating every few days for two weeks. Mites thrive in hot, dry, dusty conditions, so keep plants watered and the foliage rinsed.
7. Disease, From Blight to Wilt
Diseases rarely yellow a leaf quietly. Early blight brings brown spots with concentric rings and a yellow halo, starting low. Fusarium and verticillium wilt yellow one side of the plant first, with wilting that does not recover overnight and brown streaking inside the stem.
Fix: for blight, remove affected leaves promptly, sanitize pruners between plants, water at soil level, and mulch to block soil splash. Rotate tomatoes away from the same spot for at least three years. Wilt diseases cannot be cured: pull the plant, bag it, and do not compost it. Choose resistant varieties next season.
A Five-Minute Weekly Check
Walk your plants once a week and run the same sequence: look at the lowest leaves, look at the newest growth, feel the soil two inches down, lift a container to judge its weight, and glance at the undersides of a few leaves. That routine catches nearly every problem on this list while it is still small.
Remove leaves that are more than half yellow, since they are no longer paying their way. Then make one change at a time and give it ten days to two weeks. New growth coming in green tells you the fix worked. If the yellow keeps climbing the plant, reassess your watering first, because more yellow tomatoes leaves trace back to the hose than to anything else.
Photo: Czapp Árpád / Pexels